
How to Change Address in Aadhaar Card in India: A Comprehensive Guide
Learn how to change the address on your Aadhaar card in India with this comprehensive guide. Discover step-by-step instructions and required documents for a hassle-free update process.
Introduction
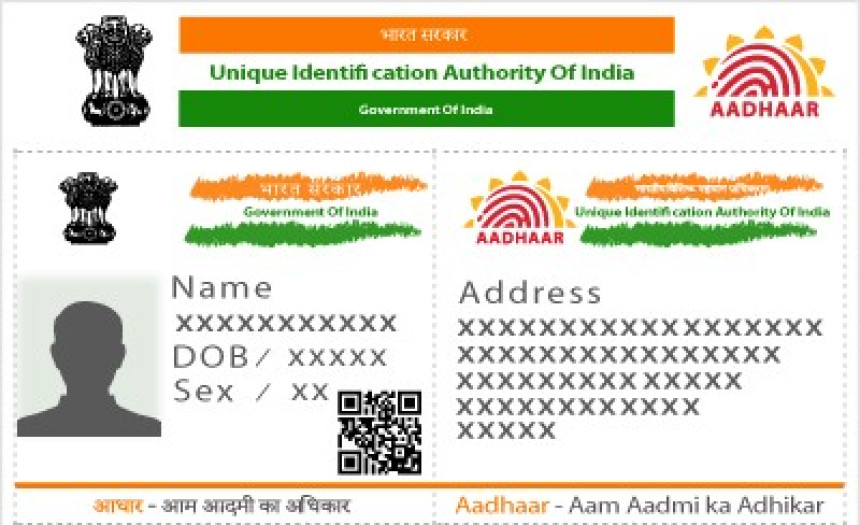
The Aadhaar card, issued by the Unique Identification Authority of India (UIDAI), serves as a crucial identity document for Indian residents. It contains essential information such as biometric data and demographic details, including the address. However, people often need to update their Aadhaar card address due to various reasons, such as relocation or change of residence. In this article, we will provide a step-by-step guide on how to change the address on an Aadhaar card in India.
Step 1: Gather the Required Documents:
Before initiating the process of changing your address in the Aadhaar card, ensure that you have the necessary documents ready. Here's how to gather the required documents:
- Proof of Address (PoA) Document: Begin by collecting acceptable PoA documents such as a passport, voter ID card, driving license, bank statement, ration card, utility bills, or any government-issued document containing your address.
- Self-attested copy of the PoA Document: Make a photocopy of the PoA document and self-attest it by signing across the document.
Step 2: Visit the UIDAI Website:
To change your address on the Aadhaar card, follow these steps on the UIDAI website:
- Access the official UIDAI website (https://uidai.gov.in) using a computer or a mobile device with an internet connection.
- Locate the 'Update Your Address Online' Service: On the UIDAI website's homepage, look for the "My Aadhaar" section or navigate to the "Update Aadhaar" tab. Under the "Update Your Address Online" service, click on the "Proceed to Update Address" button.
Step 3: Enter Aadhaar Details:
To proceed with updating your Aadhaar card address, follow these steps:
- Enter Aadhaar Details: On the page, you're redirected to, enter your Aadhaar number or Enrollment ID (EID). Fill in the security code displayed on the screen and click on the "Send OTP" button. An OTP (One-Time Password) will be sent to your registered mobile number.
- Authenticate with OTP: Enter the OTP received on your registered mobile number and click on the "Login" button to proceed further.
Step 4: Select Address Update Option:
Now, it's time to select the address update option. Follow these steps:
- After successful authentication, you will be redirected to a page where you can update your address. Select the "Address" option and click on the "Submit" button.
Step 5: Fill in the New Address Details:
Enter your new address exactly as it should appear on your updated Aadhaar card. Here's how to fill in the new address details:
- On the next page, enter your new address accurately, ensuring it matches the PoA document you'll be submitting.
Step 6: Upload the Supporting Document:
To change your Aadhaar card address, you need to upload a scanned copy of your PoA document. Follow these steps:
- Upload the Supporting Document: Ensure that you have a legible scanned copy of the PoA document containing the new address. Make sure it meets the specified size and format limits.
Step 7: Review and Submit:
Before submitting your address update request, review the details you've entered. Here's what to do:
- Verify the Details: Double-check the accuracy of your new address. If everything appears correct, click on the "Submit" button.
Step 8: Choose the BPO Service Provider:
To proceed with the verification process, select a BPO (Business Process Outsourcing) service provider. Here's how:
- Choose the BPO Service Provider: On the next page, you will be prompted to select a BPO service provider for the verification process. Choose the one that is most convenient for you and click on the "Submit" button.
Step 9: Acknowledgment Receipt:
Once you've submitted your request, you will receive an acknowledgement receipt with a 14-digit URN (Update Request Number). Remember to save this URN for future reference and tracking.
Step 10: Update Verification:
The BPO service provider will verify the details and documents provided by you against the PoA document. Here's what to expect:
- Update Verification: The BPO service provider may contact you for further verification or clarification if required.
Step 11: Final Confirmation and Card Delivery:
After the verification process is complete, you will receive a confirmation message on your registered mobile number and email address. The updated Aadhaar card will be sent to your registered address within a specified timeframe.
Conclusion
By following this step-by-step guide on how to change the address on your Aadhaar card, you can ensure that your information remains accurate and reliable for various official purposes. Remember to gather the required documents, visit the UIDAI website, and provide accurate information while submitting your address update request. Keep your URN safe for future reference and tracking. Updating your Aadhaar card address has never been easier with the online facility provided by UIDAI.